Sales Navigator is a great opportunity to find prospects, because it gives you access to the largest B2B database in the world: Linkedin .
Additionally, this database is continually updated by Linkedin . The data is therefore of very good quality!
In this article, we'll review all of Sales Navigator's features to help you get the most out of it.
Page contents
7 tips to follow to properly use LinkedIn Sales Navigator
1. Use keywords carefully

To be honest, this feature is really not trustworthy…
It will search for keywords throughout your prospect's profile.
So if your prospect started out in marketing, and is now in HR: they might show up if you enter “marketing” as a keyword.
This can lead to truly unpredictable results.
➡️ Evaboot can solve this problem: the algorithm filters the results and checks if the keyword is present in your prospect's current job description.
Therefore, this filter can be really effective with the help of Evaboot if you are targeting people in a niche. For example: “offile marketing” or “geomarketing”
Very few people mention “offline marketing” in their job title. Most of the time, they will have a job title like “VP Marketing” and mention “offline marketing” or “geomarketing” in their job description.
2. Find leads in accounts to reduce errors
One way to reduce errors produced by Sales Navigator's search algorithm in your searches is to search for prospects in the account you previously chose and place them in an "Account List."
It takes a little effort to set up, but once you do, the results can really improve.
To do this :
On Sales Navigator, open a search filtered by accounts and add the filters you want
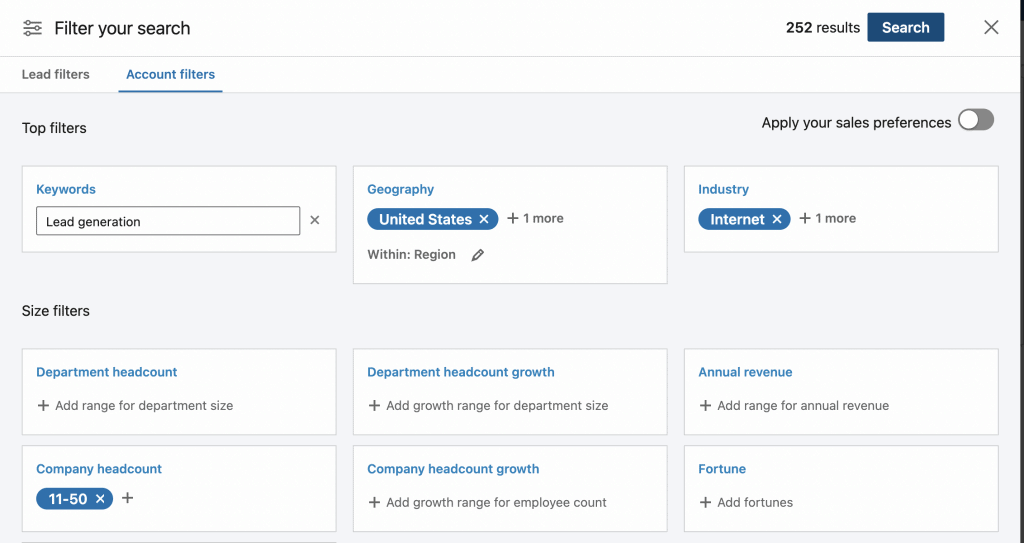 Start the search, then click on “Select all” then “Save to list” → “Create a new list”
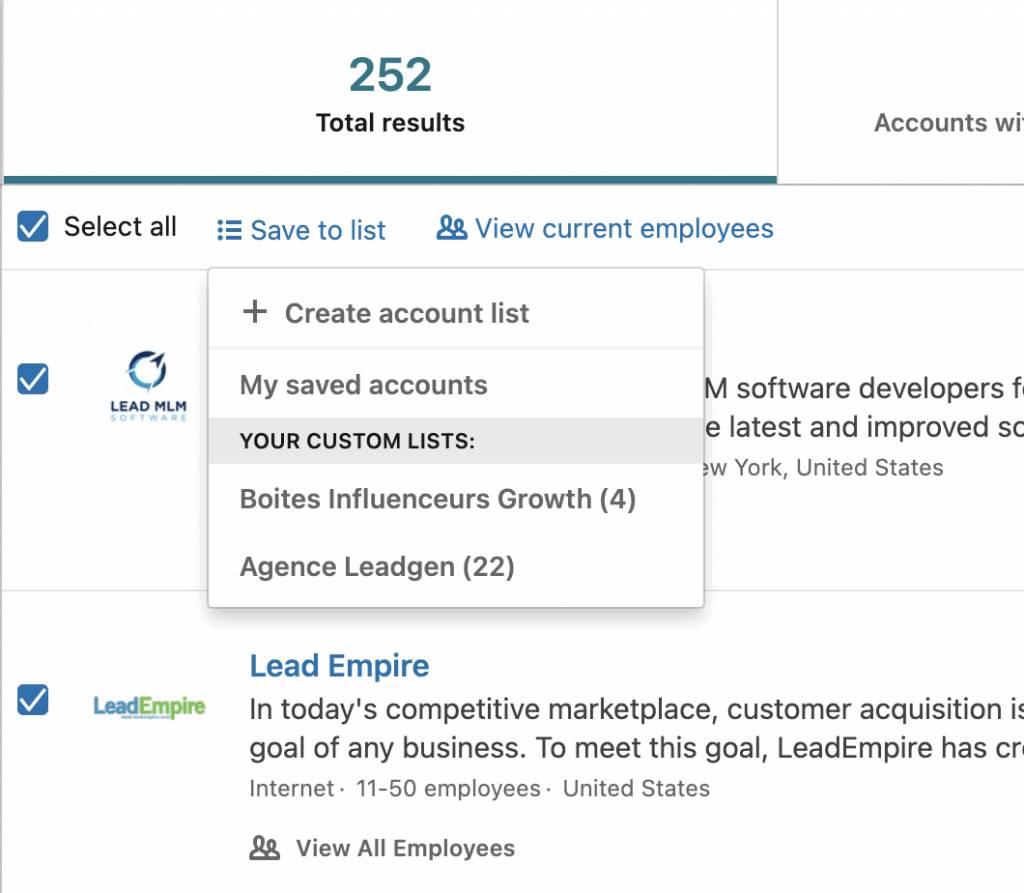 Give the list a name
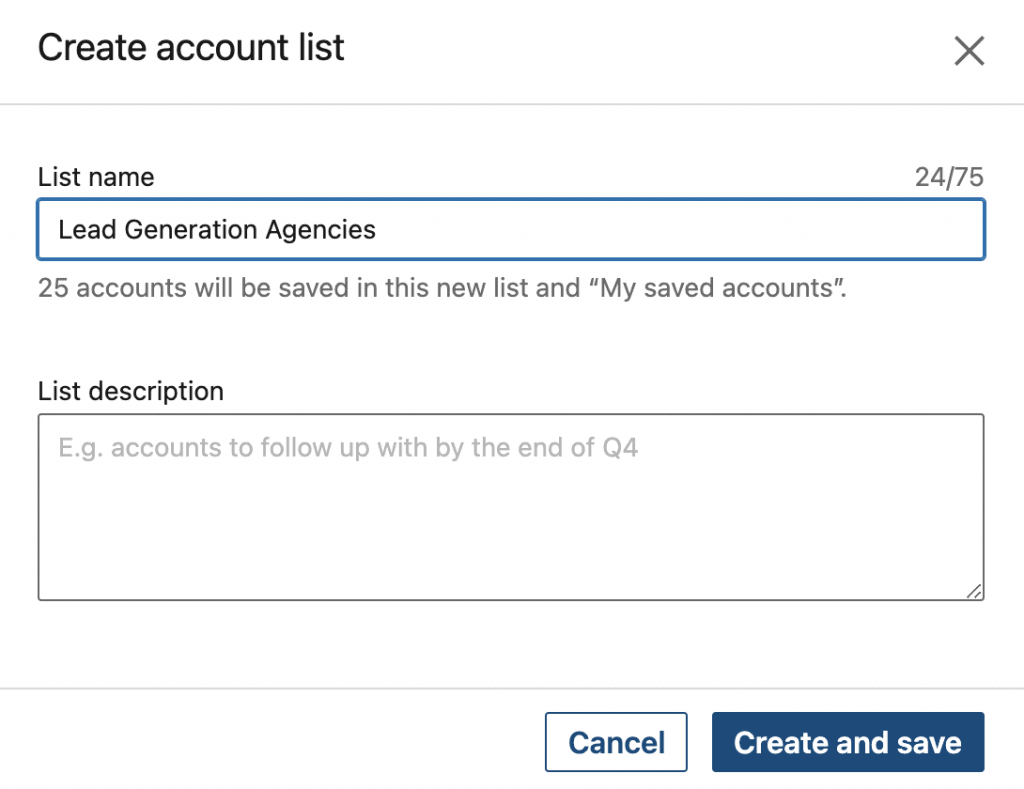
- Repeat for each page
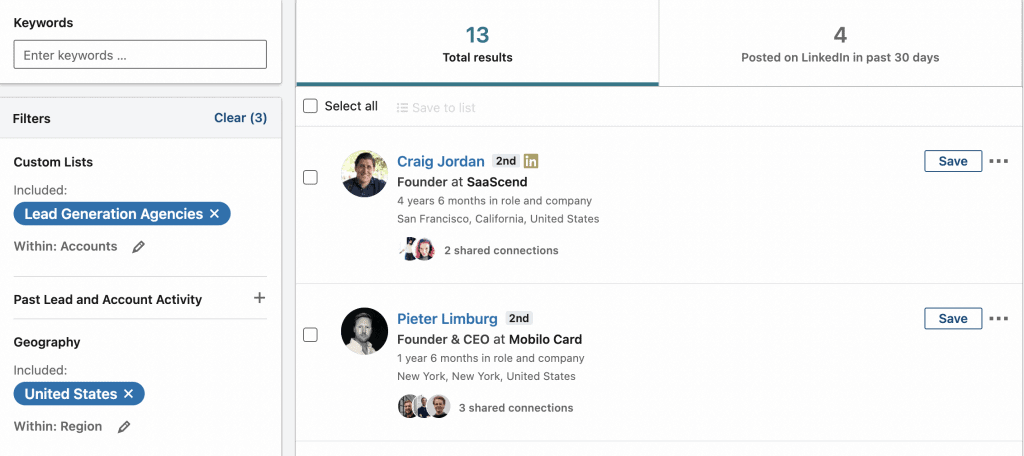
- Open a new search filtered by prospects. Add the previously saved list in Custom Lists and add filters relating to the desired persona
The results that will appear in the search results will only concern the targeted companies
 3. Focus on a few effective filters
None of Sales Navigator's filters work perfectly.
Instead of applying simple rules, Linkedin has chosen to use a Machine Learning algorithm which gives quite unpredictable results.
Among the filters you can count on to find your leads:
- Title: 15% poor results on average
- Rental: 5% poor results
- Industry: 25% poor results
- Company Headcount: 15% poor results
You can see that these filters produce many errors, but they are still the most effective for finding your prospects.
If you use Evaboot, you can easily get rid of these irrelevant results and get in touch with the people you really want to talk to.
Our advice:
➡️ List absolutely every job title that would be interested in your product or service
➡️ Create different lists with Geography, Industry or Workforce filters like:
- “SME Sales Director”
- “Head of Sales startup”
- “CMO Germany”
You will be able to map your entire market and adapt your sales pitch to your different personas.
4. Use saved searches to identify new opportunities
Once you have performed a search in Sales Navigator, you have the option to save it by clicking these buttons.
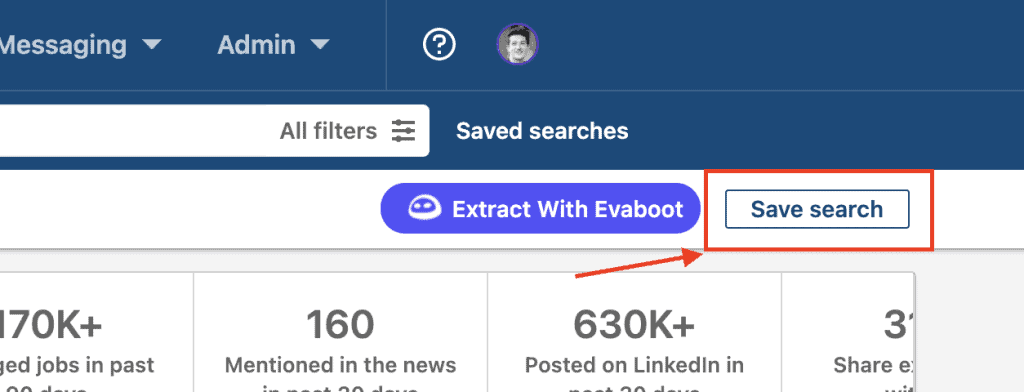
Once saved, it will be available in your “Saved Searches” tab.
You will be notified every time a new prospect matches your search criteria.
They will appear in the “New results” column.
If you click on it you will be able to see these leads
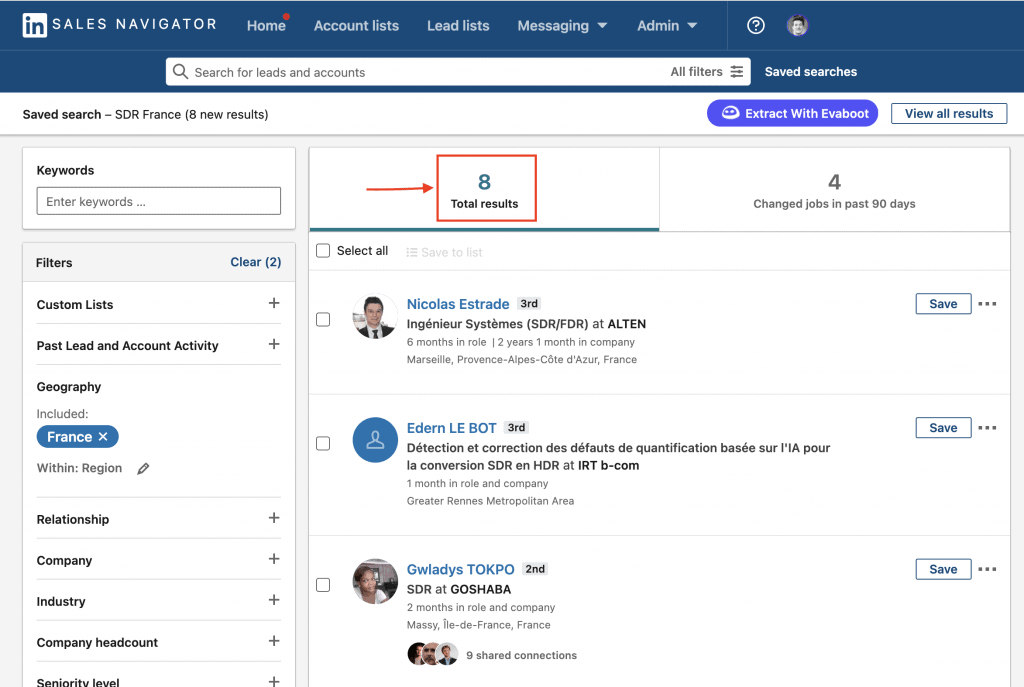 This is the easiest way to target people who have recently started a new position.
5. Avoid contacting people you have already targeted
Once you start contacting dozens/hundreds of prospects per week, things can get a little complicated.
To be sure not to reach the same prospect twice, you can use these filters
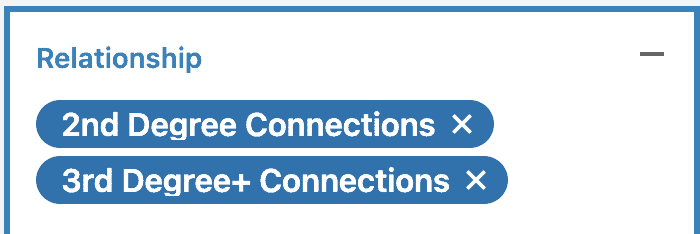
- Relationship: choose 2nd and 3rd degree connections to avoid reaching people already in your network
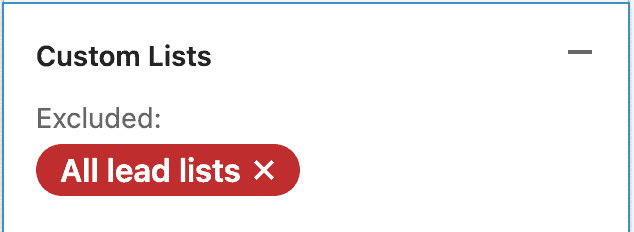
Custom Lists: Exclude specific lists or “All Lead/Account Lists” to avoid having a contact that you have already entered into a list.
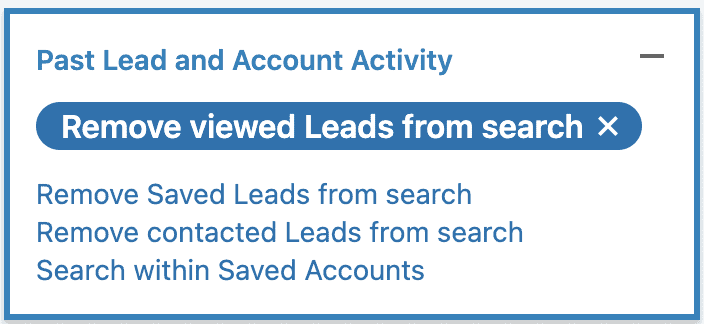
Past Lead and Account Activity: to avoid scraping the same prospect twice.
You can also select “Remove Viewed Lead from Search”. It will filter all the profiles that you have already visited with your account.
6. Avoid using sophisticated filters
Some features look sexy but don't deliver what they promise.
- Position: Positions are determined automatically by LinkedIn by looking at your job title. This data is not reliable. Our advice: favor the job title to target the functions.
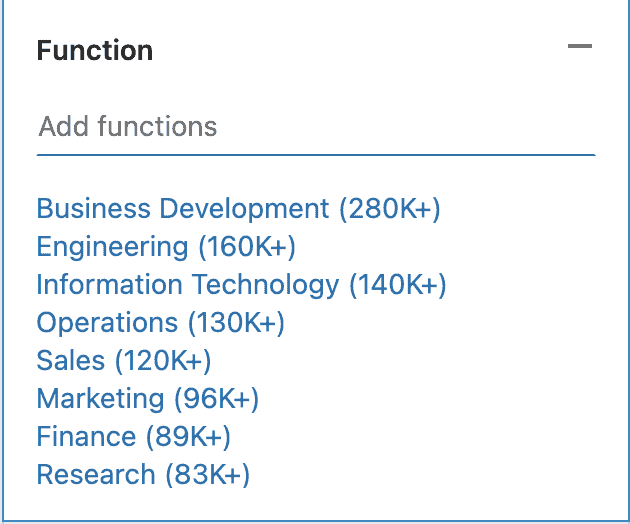
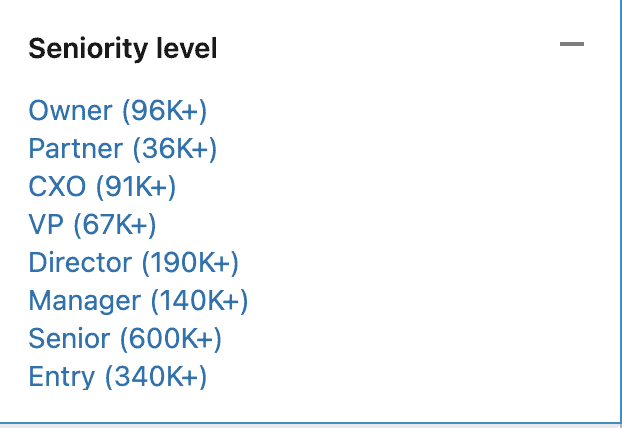
Seniority Level : To make these filters work, LinkedIn uses work relationships given by users such as “this person is my boss”, “this person works in my team” etc… This information is incomplete or poorly provided by users. Again: focus on job title to target seniority level
7. Use Boolean Searches to Perform Advanced Queries
If you are targeting a niche, you may need to use a combination of several keywords. To do this, you can use Boolean searches.
Boolean is a simple programming language with which you can establish relationships between your keywords:
- NOT : Type the word NOT (capital letters) just before a search term to exclude it from your search results. This generally limits your search results. For example, “programmer NOT manager”.
- OR : Type the word OR (capital letters) to see results that include one or more items in a list. This generally broadens your search results. For example, “sales OR marketing OR advertising”.
- AND searches : AND searches: Enter the word AND (in capital letters) to display results that include all items in a list. This generally limits your search results. For example, “accountant AND finance AND CPA”.
- Quoted searches : For an exact phrase, enclose the phrase in quotation marks. For example, type “product manager”. You can also use quotation marks if you want to find someone with a multi-word title.
Of course, you can combine all these types of searches in the same sentence like: “CTO” OR “Chief Technical Officer” AND “Python” NOT “JavaScript”

